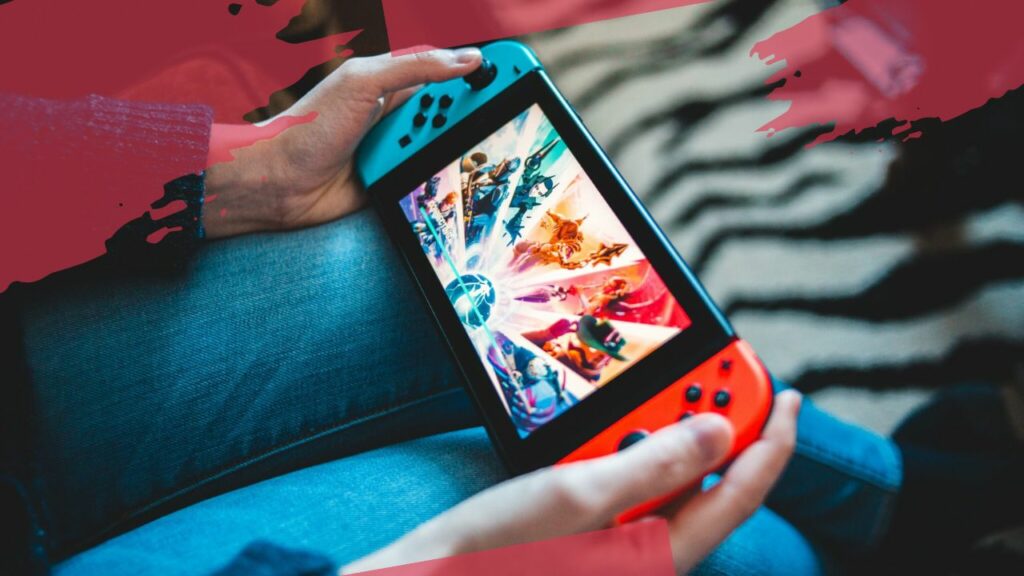
Are you ready for some of the best gaming around? You can now easily set up your Nintendo Switch and get gaming in no time. With the right setup, you’ll be able to enjoy high-quality graphics and game play that capture the full potential of this revolutionary console. This article will guide you through what you need to do to make sure your Switch is up and running swiftly—so you can start gaming!
How to find your nintendo switch
Before you begin playing your favorite games on the Nintendo Switch, you’ll need to power up and configure the console. Setting up the Nintendo Switch usually takes fewer than 10 minutes, depending on which type of setup you are using. Here’s an overview of how to set up your Nintendo Switch so that you can get started playing games in no time!
- Make sure the Nintendo switch console is plugged into an AC outlet using the included AC adapter. If you are using a TV, connect a HDMI cable between the Nintendo switch dock and an HDMI port on your TV; if not, then connect the HDMI cable between the dock and a TV compatible capture device (like Elgato Game Capture HD).
- Insert two Joy-Con controllers into either side of Joy-Con grip (or dock them directly to each side of Nintendo switch console) and press down firmly until they click into place. Ensure that both Joy-Cons are securely attached before continuing.
- Press down firmly on the left or right side of your chosen control option – whether this be a Pro controller or joy pads – and attach it securely with a USB cable to one port located at the backside of console. You will then see an image automatically appear on your TV screen prompting for input from one or more controllers.
- Follow the instructions to complete setup: from creating/selecting/updating user accounts as well as including Wi-Fi connection details if applicable.
- Finally, customize controller inputs according to personal preference(s) before pressing A or Y button onto main home screen for successful completion!
What You Need
Setting up your Nintendo Switch is easy and doesn’t require a lot of technical knowledge. To get started you will need the following items:
- Nintendo Switch console
- Nintendo Switch dock
- AC adapter
- HDMI cable
- Joy‑Con controllers (a set of two) and/or a Nintendo Switch Pro Controller.

You will also need a wireless internet connection to access many of the features, such as online multiplayer gaming and downloading digital games. To get connected to the internet, you have a few options depending on what type of wireless network you have in your home, including Wi-Fi or a wireless LAN adapter (sold separately). If your network is password protected, you’ll need the Wi-Fi password to connect the console.
Begin by connecting the AC Adapter into the back of your dock and plugging it into an outlet. Then slot your Nintendo Switch console into the dock securely so that both USB connections at its base are fully inserted into their respective ports on the dock. Finally, attach one end of an HDMI cable to an HDMI port on your TV or display device and then attach the other end to one of two available ports at the rear of your dock. After all devices have been connected properly, press any button on either controller or touchscreen if necessary to power up your Nintendo Switch console and start using it!
Setting up the Console
The first step in getting your Nintendo Switch up and running is to connect the console to a TV or monitor. You can do this by plugging the included HDMI cable into the console and your TV or monitor. The other end of the cable also connects to a wall outlet for power. Once plugged in, you will need to press the Power button on the Nintendo Switch console itself. It will take a few seconds for everything to appear on your screen.
The next step is connecting accessories, such as Joy-Con controllers, Pro Controllers, charging stands, docks, and more. You can do this by taking each accessory out of its packaging and connecting it directly to your console. Joy-Con controllers can attach directly onto either side of the console itself while charging stands and docks should be plugged into outlets near you so they can charge properly.
After all the accessories are connected, you’ll need to select your language and time settings before proceeding with creating an account or using other features within the system. You can do this by going into “Settings” on your home page and navigating through each option until you’re satisfied with all of them. This is also where any parental settings or restrictions will be found if necessary for anyone who wants more control over their children’s gaming experiences. Once all these steps have been completed, your Nintendo Switch is ready for use!
Connecting to the Internet
The Nintendo Switch has a myriad of options when it comes to connecting to the internet. In order to get the most out of your console and have access to all available features, it’s important to ensure your system is connected correctly. Aside from being able to play online, this connection allows you to do a number of tasks such as downloading games, updates and accessing the eShop.
The main way in which the Switch connects is by using either an existing Wi-Fi network or through an Ethernet cable. For the former, you will need to have access to an existing Wi-Fi network in your area that shows up on your list of available networks, then provide security details for authentication if needed. If this isn’t possible or connection is weak due at any time then you will ultimately require a physical ethernet cable as outlined below.
Using an Ethernet Cable:
- Ensure that both your router and Nintendo switch are powered on and within reach.
- Look for a LAN port located somewhere on Switch dock (This port normally has four coloured connectors located near USB ports).
- Connect each end of Ethernet cable (Usually accepts a standard RJ45 connector) into LAN port.
- Once verified make sure green light appears on backside of switch dock.
- Select “Internet Settings” from Home menu then “Connect To The Internet” for further instructions.
Downloading Software
Before you can really start enjoying the Nintendo Switch, you must first download the latest software. You can do this in two ways: by connecting your Nintendo Switch console to the internet and downloading the software directly to your system, or by using a game card that has software data embedded into it that will be transferred upon insertion into the console.
In order to download software, select “System Settings” on the Home Menu and then select “System”. Select “System Update” to link with Nintendo’s servers and receive the latest update data. You will also see options for downloading updates from connected networks.
The second option is available when inserting compatible game cards into your system. The software on each game card is automatically transferred to your system during gameplay, so as long as you have an active connection to Nintendo servers, each time you insert a new game card your console should be updated with its associated content.
Before playing any games, make sure you have downloaded every available update available on your system – this allows you access to any new features or content that may have been added since its release. Additionally, make sure all other content such as videos and applications are up-to-date as well so that their performance isn’t impacted negatively over time due to outdated versions of the software being executed on them.
Setting up Parental Controls
By enabling Parental Controls on the Nintendo Switch system, you can help keep children from viewing inappropriate content and restrict how much time they spend playing. It’s also possible to limit purchases to prevent overspending. Before your child uses the Nintendo Switch console, you should take a few minutes to set these controls up.
Parental Controls can be configured one of two ways: via a web browser or using the Parental Controls App for Apple iOS and Android devices. The Parental Controls App allows more detailed customization when compared to using a web browser. It’s possible to set specific game ratings, view activity logs, manage game purchases and control the playback of videos with this app.
To set up parental controls via your web browser:
- Log in to your Nintendo Account profile – you’ll require a valid email address and password to sign in
- Select your User icon from the top right-hand corner of your screen
- Select “Settings / Nintendo eShop Settings” from the menu on the left side of the page
- Select “Parental Controls” underneath menu item “Content Rating” on this page
- Enter your 4-8 digit PIN code (you will need it when making changes later on!)
- Assign age-based content restrictions then press “Save Changes” to complete setup
Transferring Data from Other Consoles
One of the great features available with the Nintendo Switch is the ability to transfer saved data from another Nintendo console, such as a Wii U or 3DS XL. To do this, you will need to backup your existing system’s data onto an external drive and then connect that drive to your new Switch. Doing this is simple but requires a few steps:
- First, make sure all your save data is backed up in its original format. To transfer between systems, only files in their original format can be transferred – if files are adjusted after being created, those edited files may not be able to be transferred onto the new system.
- Create a folder on an external storage device for the save data you wish to transfer (e.g., SD card). Then locate the existing save data on your old console which should be stored either in an internal memory or as an SD card backup file. Copy these files into the folder you created on your external storage device.
- Connect your external storage device to your new Nintendo Switch using either a USB cable or by inserting it into one of the console’s ports. Once connected, open up the System Settings menu and select Data Management within it – once opened, choose Manage Save Data/Screenshots then ‘Transfer Your Save Data’ option will appear within this screen allowing you to move saves from one system to another.
- Select ‘Transfer Save Data’ and allow it time to complete – depending upon how much data needs transfered, this process may take some time so please allow patience while it completes transferring all of your save data over correctly.
- Once completed successfully, disconnect your external storage device from Nintendo Switch and turn off both systems before powering back up again. Enjoy!
Conclusion
Congratulations! You now know how to set up your Nintendo Switch and get started playing your favorite video games. Remember to read the manufacturer’s manuals for more information on how to use the system and for troubleshooting help. As your gaming journey progresses, keep an eye out for cables, controllers, cases and game cartridges that match your gaming needs.
Finally, be sure to take good care of your device by regularly dusting it off, cleaning and checking all cords, batteries and components for damage or wear-and-tear. Enjoy exploring the world of gaming with your Nintendo Switch!

